Prerequsites
Prerequsites
Before starting the installation, ensure that the Ubuntu Server 24.04.2 LTS ISO file is available. If it is not already uploaded, you can download it from the official Ubuntu website.To upload the ISO file, navigate to 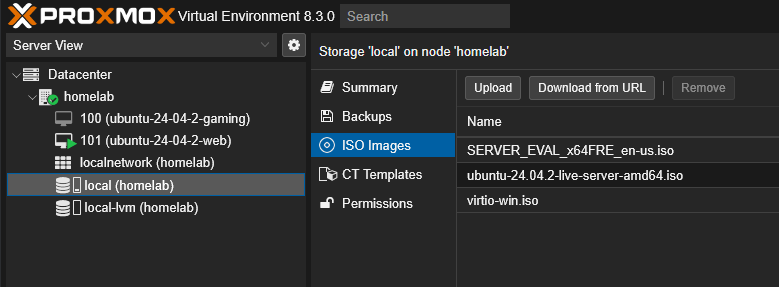
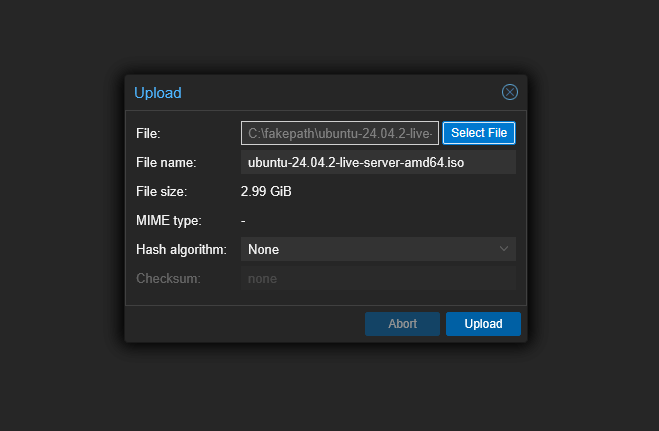
Homelab Server → Local (homelab) → ISO Images → Upload.Setting up the VM
Creating the VM
To create a new virtual machine, navigate to the top right corner and click onCreate VM.
General
General
In the General Tab, the only required fields are the
VM ID and the Name. The Name field can be set to anything you like, while the VM ID should be unique and between 100 and 999.999.999.OS (Operating System)
OS (Operating System)
In the OS Tab, make sure to select the ISO image that was uploaded earlier in the Prerequisites Step. The
Type of the Guest OS should be set to Linux and the Version to 6.x - 2.6 Kernel.System
System
In the System Tab, the
Since we’re using a moden BIOS, the
Graphic Card should stay on default since we’re dealing with integrated graphics.Since we’re using a moden BIOS, the
Machine should be set to q35 and the BIOS to OVMF (UEFI). Then, you will have to select the Homelabs local storage as the EFI Storage.Disks
Disks
In the Disks Tab, you can leave everything as it is unless you want to allocate more storage to the VM. If so, you can increase the
Disk Size (GiB) to your liking.CPU
CPU
In the CPU Tab, set the
Since we’re dealing with an AM5 (Zen 4) CPU, the
Cores to the desired amount that is necessary for your use case.Since we’re dealing with an AM5 (Zen 4) CPU, the
Type should be set to x86-64-v4. This will enable the CPU to use the latest features.Memory
Memory
In the Memory Tab, set the
Additionally, you will want to tick the
Memory (MiB) to the desired amount that is necessary for your use case. Note, a minimum of 2048 MiB is recommended.Additionally, you will want to tick the
Ballooning Device checkbox to allow the VM to dynamically adjust its memory usage. Make sure to set the Minimum memory (MiB) to a lower amount than the Memory (MiB).Network
Network
In the Memory Tab, the default settings should be sufficient for most use cases. The
Bridge should be set to vmbr0 and the Model to VirtIO (paravirtualized).Confirm
Confirm
That concludes the setup of the VM! Validate your selected options and click on
Finish to create the VM.Setting up Ubuntu
Starting the Machine
Starting the Machine
After you created the VM, it will appear in the navigation on the left hand side with the name and ID you gave it earlier.
Click on the VM, then
Click on the VM, then
Console → Start Now.Install Ubuntu Server
Install Ubuntu Server
In your console you should now see
If you don’t do anything, the installation will start automatically.
Try to install Ubuntu Server. Hit Enter to start the installation.If you don’t do anything, the installation will start automatically.
Type of Installation
Type of Installation
For most purposes in the homelab,
Ubuntu Server is recommended. It contains a curated set of packages that save you time and effort.You can select Ubuntu Server (minimized) but you might have to install additional packages for your use case, later on.Network configuration
Network configuration
For the network configuration, you can leave everything as it is since the Sever will only run via an Ethernet connection.
Proxy configuration is not necessary for the homelab.
Proxy configuration is not necessary for the homelab.
Mirror configuration
Mirror configuration
The Ubuntu Installation will automatically run a mirror location test. After it is completed, you can select Done and hit
Enter.Disks
Disks
Since we’re using a virtual machine, that already has a virtual disk attached to it, you can leave the default settings on
Use an entire disk.SSH configuration
SSH configuration
Make sure to tick the
Install OpenSSH server checkbox. This will allow you to connect to the server via SSH later on.Removing the ISO Image
Removing the ISO Image
After the installation is completed, you will be prompted to remove the installation media. Make sure to remove the ISO image from the VM.
You can do so by selecting the VM in the navigation, then
You can do so by selecting the VM in the navigation, then
Hardware → CD/DVD Drive → Remove.After you removed the ISO image, go back to the console and hit Enter to complete the installation.Finishing up
Finishing up
Now that the installation is completed, you can log in to the server with the credentials you set up during the installation.
The last step is to allow SSH connections to the server. You can do so by executing the command:
That’s it! You’ve successfully set up a Linux Virtual Machine within the homelab.
The last step is to allow SSH connections to the server. You can do so by executing the command:
That’s it! You’ve successfully set up a Linux Virtual Machine within the homelab.